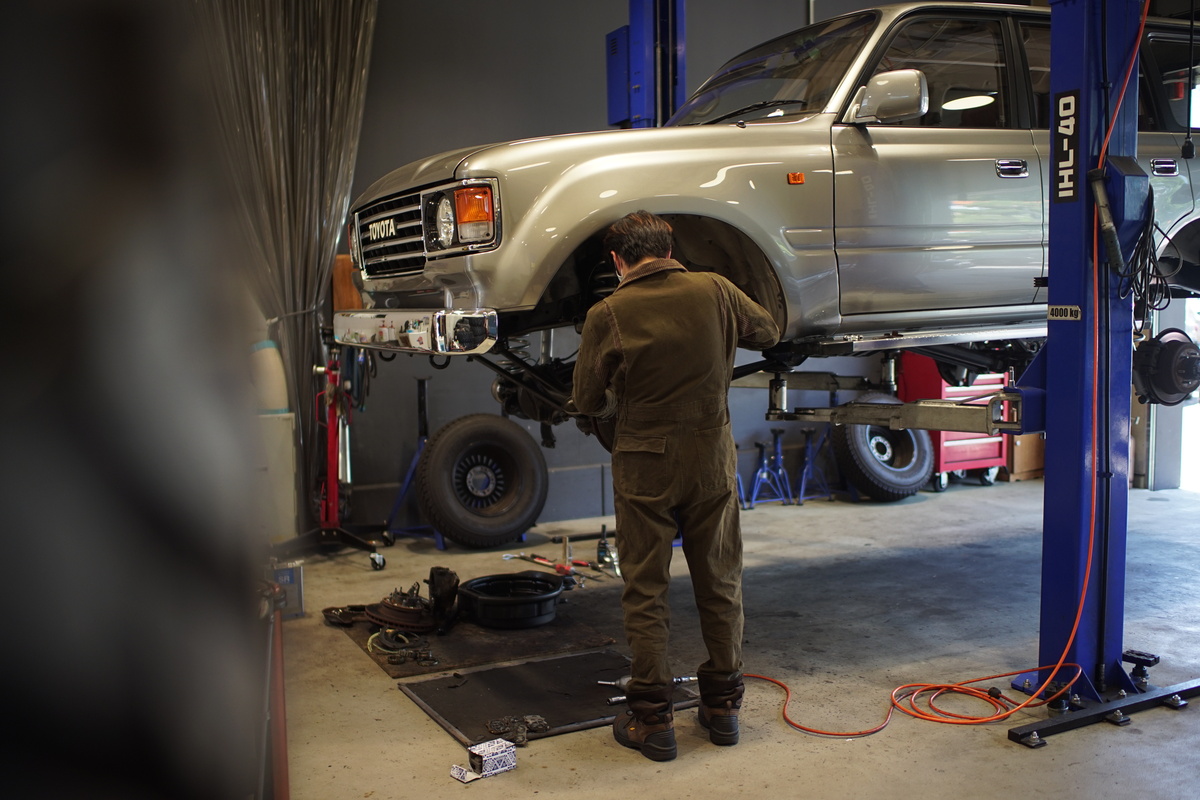
Upgrading your Tacoma headlights through retrofitting is an excellent way to improve the appearance and performance of your vehicle’s lighting. We’ll help you understand everything you need to know about retrofitting, bulb replacement, and headlight assembly upgrades, including a step-by-step installation guide.
Before diving into the installation process, if you’re still deciding which brand or product to go with, check out our curated list of the 14 recommended retrofit headlight brands for the Tacoma covering everything from budget-friendly to premium options.
What Is a Headlight Retrofit?
Retrofitting is making an old part new again by using upgraded or improved parts, like headlights. If you’re wondering what parts can be upgraded during a headlight redesign, here are the components you can retrofit to your Tacoma that will give it an all-new look that’s distinctly yours.
Headlight/Projector/Halos
The light is the heart of the refit, where new technology comes in to improve the product. You’ll find many aftermarket projectors on the market that boost the light output and focus. Today’s bulbs are much brighter than the original bulbs in the Tacoma, so take some time to shop around for the right light for your truck. LED and Halo lamps give your vehicle a customized look.
Shrouds/Headlight Bezel
You can change the shrouds or bezels to complement the new headlights. You’ll find many styles on the market, and they’ll help protect the light from debris. You can repaint the ones you have or modify them to fit the new lamps.
Front Grille
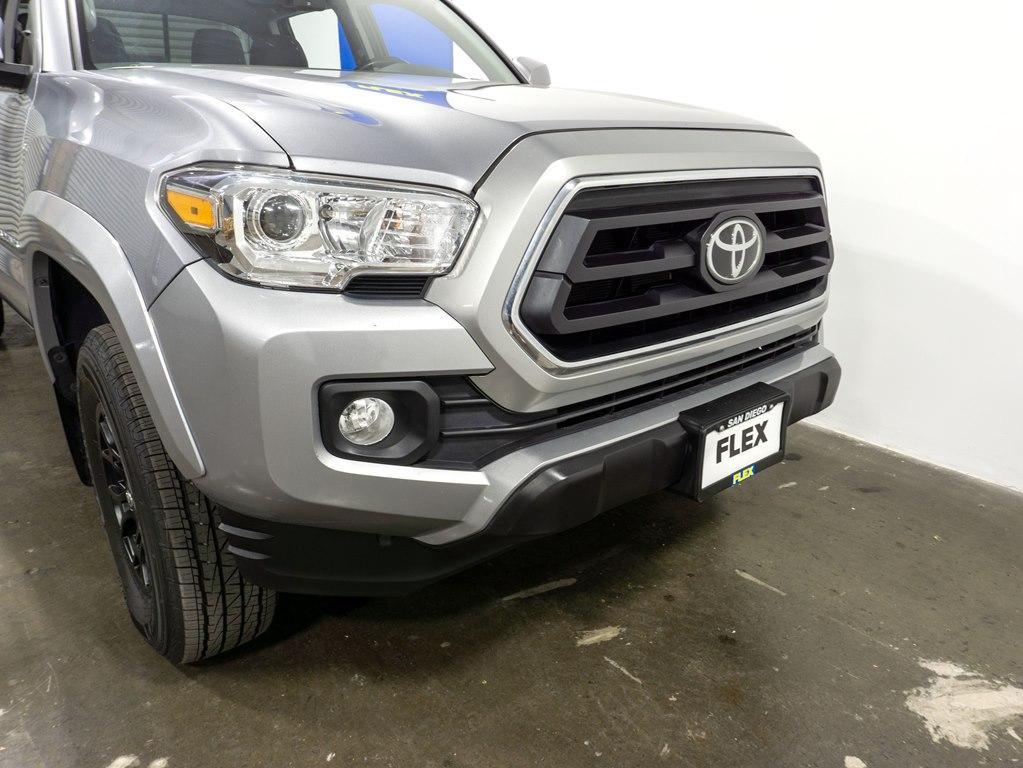
While not a part of the headlight, retrofitting involves removing and sometimes modifying the front grille. Retrofitting is an opportunity to upgrade or change the grille to match the new look of the headlights.
Why Should You Retrofit Your Headlights
Retrofitting your headlights can provide several benefits, including:
Improved Visibility: Upgraded projectors offer a more focused beam pattern, increasing your visibility at night.
Customization: Allows for a unique look, with various options for projectors, shrouds, and LED accessories.
Value: Enhances the overall look and value of your vehicle.
Step-by-Step Tacoma Headlight Retrofit Instructions
Before you start, turn your headlights on and face them toward a blank wall or the inside of the garage door. Use tape to mark their location on the wall or door. You’ll need this mark when you’re ready to align the new headlights.
Overview of Kit
A typical retrofit kit for Tacoma includes new projectors, bulbs, shrouds, and all necessary wiring and hardware. Your kit may have a ballast for HID bulbs and a harness, and an LED kit may include high/low splitters. Your kit may also include the sealant, but if not, the sealant is inexpensive and found at most auto parts stores.
Removing grill and old headlights
You’ll need to remove the grille before you can get to the headlight. Once the grille is off, you can unbolt the headlight assembly and splash guards. Depending on your model, you may have clips, bolts, or a combination.
You’ll need to remove the nuts on the outer and radiator sides to get the headlight assembly out. Then, push the assembly toward the truck’s center to disconnect the tabs and studs on the inner bracket. Take care not to break the tabs.
Pull the assembly out and disconnect the light plug and unscrew the interior screws.
Disassembly of Headlight
Once you’ve removed the headlight from the truck, you’ll need to separate the two parts so you can fit the new headlights in. The headlight assembly parts are connected with a sealant that needs to be removed before you can start. The best way to break the sealant is to bake the assembly in the oven to soften the adhesive.
Here are the baking instructions:
Baking In Oven and Removal of Lens
Set the light on a piece of cardboard before placing it on the center rack in the oven. Make sure you remove the cardboard from the oven when you take your headlight out to avoid setting something on fire.
We recommend 300º F for 4 to 5 minutes to soften the adhesive between the two parts. Baking these parts can smell, so vent the house or garage to remove the fumes.
Once it is heated up, take the two pieces apart. You may need a screwdriver to pry them apart, and working them apart can take some time.
Toyota uses a butyl compound between the pieces, so you will need butyl tape to put them back together. Don’t worry about any leftover butyl in the channels; it will melt back in place when you reheat the finished headlight assembly.
Remove the lenses from the assembly.
Depending on which new lights you’re putting into the assembly, you may need to modify the shrouds to fit the new bulbs. Your new headlights should have instructions for assembling the new lighting.
You can repaint your shrouds at this point.
Some of the process might need a professional help. Don’t hesitate to reach out to us from the contact form!
Installing Shroud and Projector into Housing
Clean the new projector with an alcohol pad to remove fingerprints or any dust on the light. Fit the new projector into the housing and secure it. Your kit will have all the mounting hardware you need to fit the light. Then, attach the shroud around the projector and place it in the truck to test the cutoff line.
Projector Bulb Wiring
Wire the new projector bulbs according to the retrofit kit’s instructions, ensuring all connections are secure and insulated. Tug at the wires to check for security and feed the bulb harness wires back through the boot.
Testing Projector Cutoff
Before sealing everything back together, test the projector’s cutoff line to ensure it’s sharp and level. Line it up with the tape marks you made earlier and adjust them until they’re where you want them.
New Sealant and Re-Baking Headlight
You must re-bake the piece to reseal it, so take the assembly back to your oven.
Using butyl tape, apply new sealant to the edges of the headlight housing and blow off any dust or dirt before you seal the two pieces back together.
Reheat the assembly on cardboard in the oven at 275º F for 5 minutes to set the sealant. Remove the cardboard immediately from the oven. Ensure your wires are not on the oven rack but can stay on the bulbs when sealing the pieces.
When you’re done baking, press the pieces together and put the screws back in.
Mounting Harness
Arrange and secure the wiring harness, protecting it from moving parts or heat sources. Follow any instructions from the manufacturer of your retrofit kit.
New Headlight Install
With the wiring in place, install the new headlight units into the vehicle and reinstall the splash guards and the grille.
Mounting Ballasts
If your retrofit headlight comes with a ballast to control the headlight’s intensity, then you’ll need to install it away from heat and moisture but where it’s easily accessible; this part will need replacement at some point. The wires can be zip-tied together, and the ballast can be mounted on the driver’s side firewall using adhesive tape. Ensure the ballast is solidly planted, or it will start to rattle against the firewall and become annoying.
First Test
Test the headlights to ensure all components are working correctly. Check the low and high beams, as well as any additional accessories, too.
Headlight Aiming
Adjust the headlights to the correct angle and height to ensure proper road illumination without blinding oncoming traffic. Again, use the taped lines on your wall or garage door to get the right angle. When you’re satisfied with the aim, secure the bolt on the back of the light.

Tacoma Bulb Replacement Guide
Replacing the headlight bulbs on a Toyota Tacoma is one of the most common maintenance tasks owners perform. Whether your bulbs have burned out or you’re upgrading to brighter LEDs, this Tacoma bulb replacement guide walks you through everything you need to know. The process is generally simple on most Tacoma headlights, and many owners complete the job in under ten minutes per side.
Step-by-Step Tacoma Bulb Replacement Procedure
Step 1 — Open the Hood
Locate the headlight housing directly behind the front headlight assembly.
Step 2 — Access the Bulb Socket
On most Tacoma year models, you can reach the socket from the engine bay without removing the battery or airbox.
Step 3 — Disconnect the Wiring Harness
Press the clip and gently pull the connector away from the bulb.
Step 4 — Twist and Remove the Bulb
Turn the bulb counterclockwise and pull it out of the housing.
Step 5 — Insert the New Bulb
・Avoid touching the bulb glass
・Insert and rotate clockwise until secure
Step 6 — Reconnect Harness & Test
Plug the wiring back in and turn on the headlights to verify proper installation.
Note: Certain trims with projector housings or DRL modules may have slightly different access layouts.
Tacoma Headlights Replacement — Complete Guide to Replacing the Entire Assembly
Replacing the entire headlight assembly on a Toyota Tacoma becomes necessary when the housing is cracked, the lens is heavily oxidized, or when upgrading to modern LED or projector-style units. This section provides a complete Tacoma headlights replacement guide covering tools, compatible units, installation steps, and common issues to avoid.
How to Replace the Headlight Assembly(Step-by-Step Guide)
Below is the standard procedure for Tacoma headlights replacement on most 2nd and 3rd generation models.
(※ 2024+ models use fully sealed LED units and require different steps.)
Step 1 — Remove the Front Grille
・Remove the plastic clips
・Pull the grille gently outward
Step 2 — Remove the Bumper Bolts (if required)
Some Tacoma year models require partial bumper removal to access the mounting bolts.
Step 3 — Disconnect Headlight Wiring
Unplug all connectors, including bulbs, DRL modules, and turn signal harnesses.
Step 4 — Remove the Mounting Bolts
Typically 3–4 bolts secure the factory assembly.
Step 5 — Install the New Headlight Assembly
・Position the new unit
・Hand-tighten bolts to ensure alignment
・Reconnect wiring harnesses
Step 6 — Reattach the Grille and Bumper
Ensure everything snaps and bolts back into place securely.
Step 7 — Aim and Adjust the Headlights
After completing the Tacoma headlights replacement, adjust beam alignment for proper visibility and legal compliance.
Summary
When you’re ready to upgrade the looks and performance of your Toyota headlights, a retrofit headlight kit is the best way to go. You’ll not only like the new appearance, but the increased visibility and better lighting will make driving safer and make you more visible.
Looking for more ways to personalize your Tacoma beyond the headlights? Our guide to the top 24 easy-to-buy Tacoma mods and accessories covers the best upgrades across every category—exterior, interior, and performance.
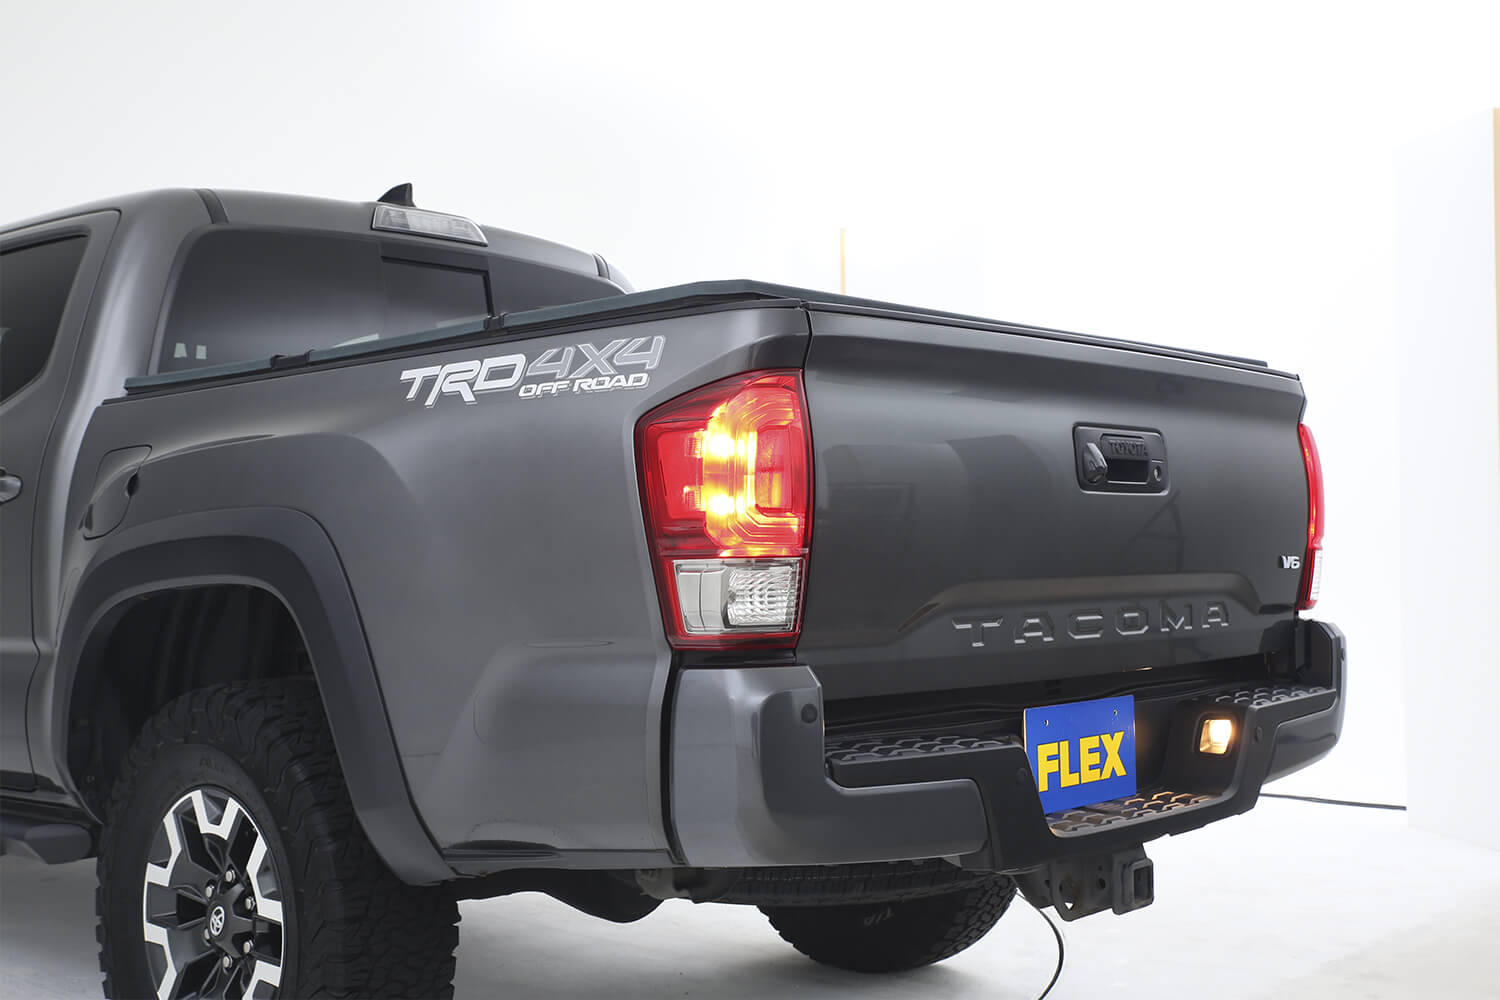
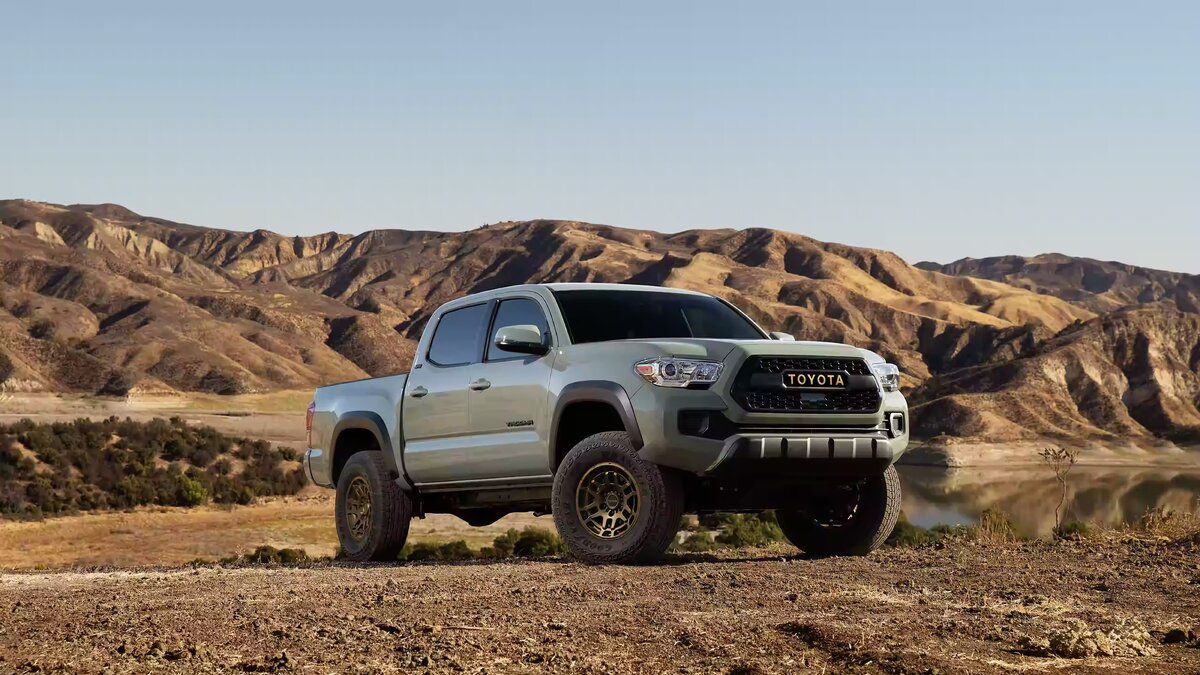
Tacoma for sale
 Featured Deal
2024 TOYOTA Tacoma Double Cab SR5 Pickup 4D 5 ft PRE OWNED
$29,995

2019 TOYOTA Tacoma Double Cab TRD Off-Road Pickup 4D 5 ft PRE OWNED
$89,995

2021 TOYOTA Tacoma Double Cab TRD Off-Road Pickup 4D 5 ft PRE OWNED
$58,995

2025 TOYOTA Tacoma Double Cab TRD Off-Road Pickup 4D 5 ft PRE OWNED
$74,995
Need help with customization?
Leave it to us! FLEX Automotive is the leading brand for Tacoma customizations & retrofitting.